Setup Guide
The following Setup Guide is designed to run the different labs from an AWS Cloud9 Development environment.
Once you have setup the environment, you will download the binary compiled firmware files, to flash onto your M5StickC from your own laptop.
ProTip: You can also follow the Local Setup Guide to setup the environment for local development.
Create Cloud9 Environment
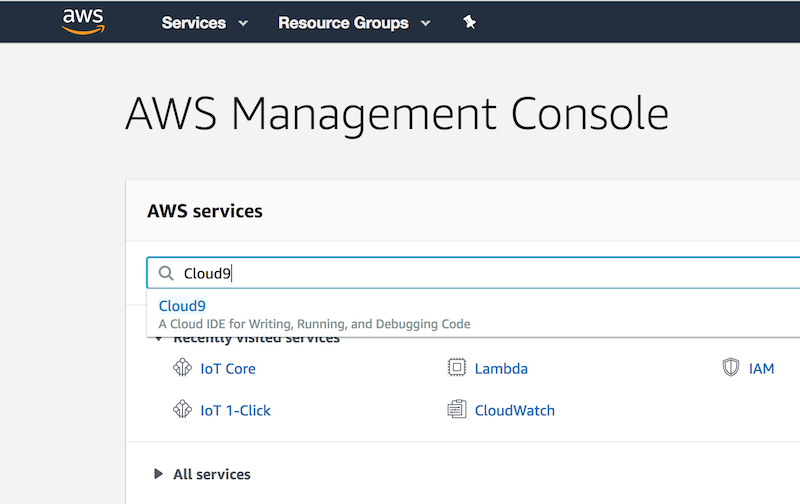
Log in to your AWS Account Console and search for Cloud9
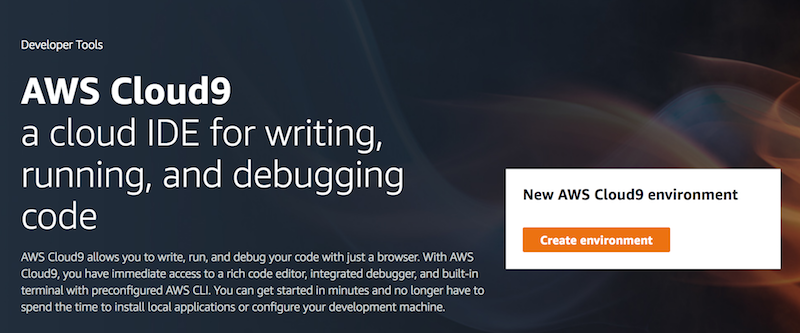
Create a New Environment by clicking the Create Environment button
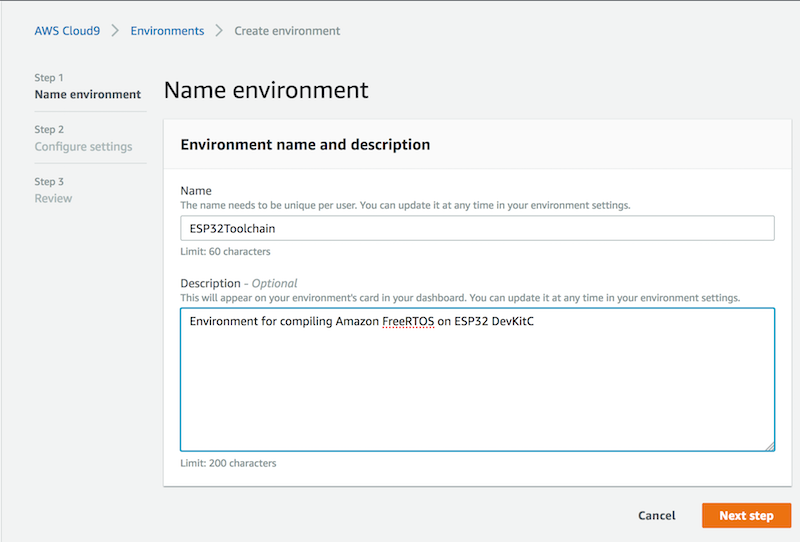
Name your environment and provide a description, then press Next step
Warning If you are running this workshop within the same account as other people, please make sure to name your environment with a customized name of your choosing in order to find your environment. Why not your name?
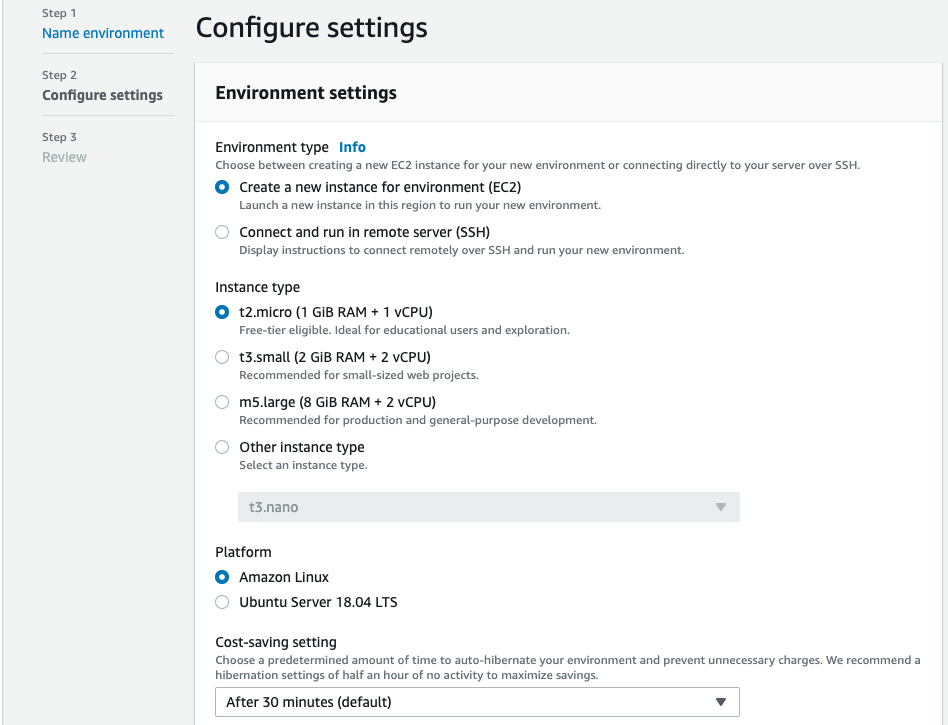
Now configure your Cloud9 instance:
- For Environment type, choose Create a new instance for environment (EC2)
- Choose t2.micro for the instance type
- Choose Amazon Linux for the Platform
- Press Next step
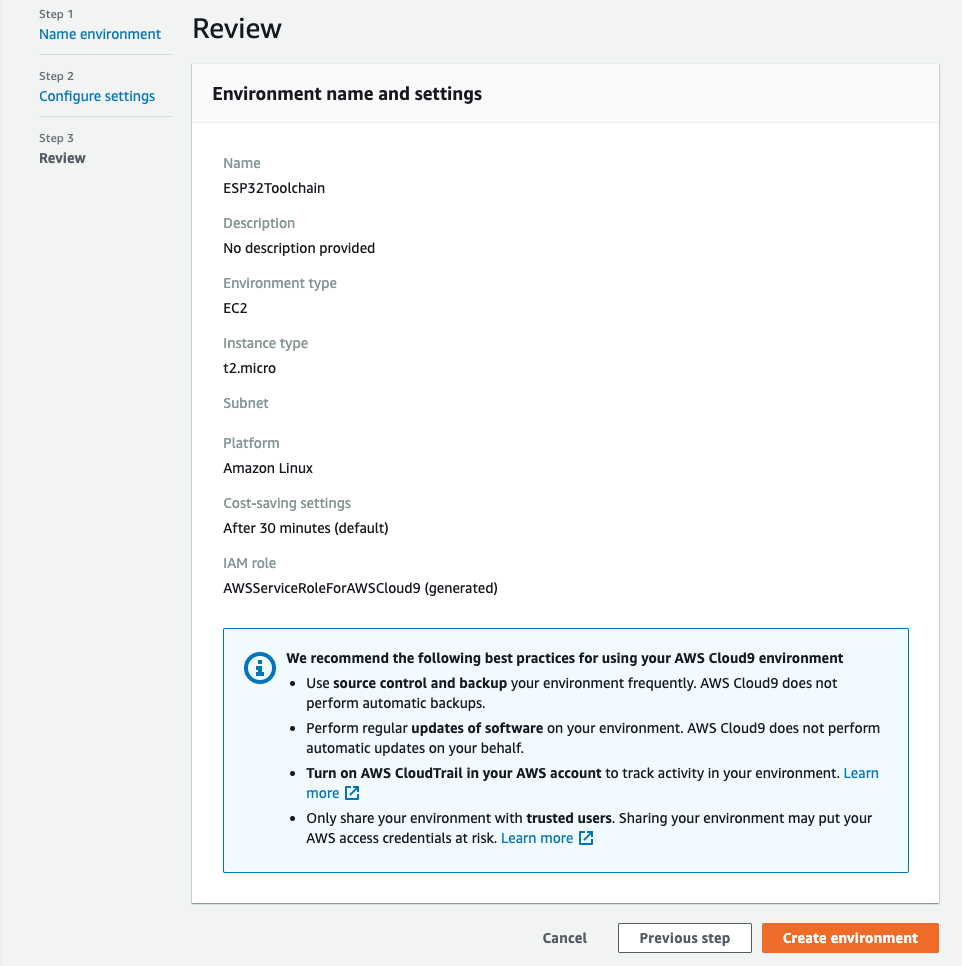
- Review and press Create environment
Open new Terminal window

Install ESP32 Toolchain
In the Cloud9 Terminal window install OS utilities needed by the toolchain
sudo yum install -y flex gperf
sudo pip install argparse cryptography serial pyserial cmake
Download the 64-bit version of Xtensa ESP32 toolchain:
wget https://dl.espressif.com/dl/xtensa-esp32-elf-linux64-1.22.0-80-g6c4433a-5.2.0.tar.gz -P ~/
Install the toolchain in the esp directory and unzip the tar archive there:
mkdir -p ~/environment/esp
cd ~/environment/esp
tar -xvzf ../../xtensa-esp32-elf-linux64-1.22.0-80-g6c4433a-5.2.0.tar.gz
Add the toolchain path to ~/.bash_profile PATH variable
echo "export PATH=\$PATH:\$HOME/environment/esp/xtensa-esp32-elf/bin" >> ~/.bash_profile
Re-evaluate ~/.bash_profile
source ~/.bash_profile